
Table of Contents
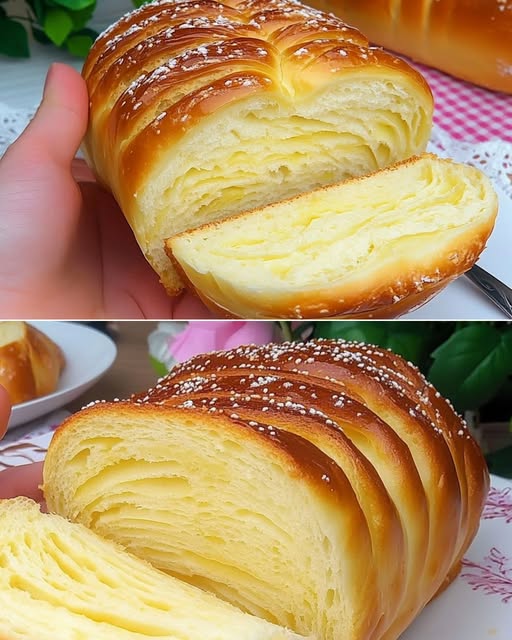
Heavenly Layered Pull-Apart Milk Bread
Ingredients
Step-by-Step Instructions
1. Preparing the Dough
2. First Rise
3. Shaping the Bread
4. Second Rise and Baking
Nutritional Information (per serving, based on 12 slices)
Professional Baking Tips
Variations and Substitutions
Heavenly Layered Pull-Apart Milk Bread
Ingredients
For the Dough:
150ml (⅔ cup) warm milk
4g (1¼ teaspoons) dry yeast or 12g (2½ teaspoons) fresh yeast
30g (2 tablespoons) butter, softened
1 large egg, room temperature
⅓ teaspoon salt
40g (3 tablespoons) sugar
320-350g (2½-2¾ cups) all-purpose wheat flour
For Layering and Finishing:
30g (2 tablespoons) butter, softened
2 tablespoons sweetened milk for glazing
1 tablespoon sesame seeds (optional)
1 teaspoon vanilla sugar or ½ teaspoon vanilla extract (optional)
Step-by-Step Instructions
1. Preparing the Dough
Combine warm milk with yeast and a small portion of sugar in a bowl
Let the mixture rest for 5-10 minutes until foamy
In a separate large bowl, mix remaining sugar, softened butter, egg, and salt
Add the activated yeast mixture to the bowl
Gradually incorporate flour while kneading
Continue kneading for 8-10 minutes until the dough becomes soft and elastic
2. First Rise
Transfer dough to a lightly oiled bowl
Cover with a clean kitchen towel
Place in a warm area for 1 hour or until doubled in size
3. Shaping the Bread
Roll dough into a rectangle on a floured surface
Spread 30g softened butter evenly across the surface
Make parallel cuts 1 inch apart, leaving the bottom connected
Carefully arrange strips in a loaf pan, creating layers
4. Second Rise and Baking
Let the shaped loaf rise for 30 minutes
Preheat oven to 180°C (350°F)
Brush top with sweetened milk
Sprinkle with sesame seeds if desired
Bake for 25-30 minutes until golden brown
Nutritional Information (per serving, based on 12 slices)
Calories: 185
Total Fat: 6.5g
Saturated Fat: 3.8g
Carbohydrates: 27g
Protein: 4.5g
Fiber: 1g
Sugar: 4g
Time Requirements:
Continued on the next page
ADVERTISEMENT
