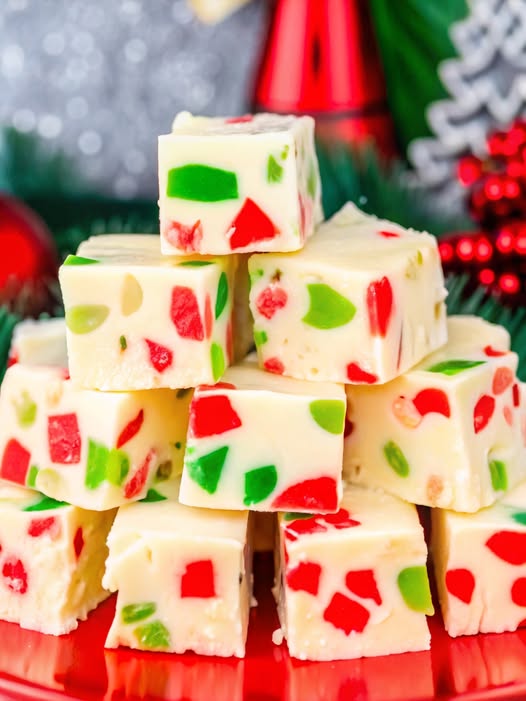
Remove the mixture from the heat and stir in the chopped cherries until they are evenly distributed throughout the fudge.
Pour the fudge mixture into the prepared pan, spreading it evenly. Chill in the refrigerator for at least 1 1/2 hours. You cannot over-chill it, so feel free to leave it longer if needed.
Once chilled, lift the fudge from the pan using the foil handles. Cut the fudge into 1-inch pieces, resulting in about 64 servings. Then it’s time to celebrate with your homemade treat—enjoy!
Tips for Success
Make sure to melt the chocolate mixture slowly to prevent burning. If your fudge doesn’t firm up, double-check that you used condensed milk and not evaporated milk. Chilling time can vary based on your fridge, so ensure the fudge is fully set before cutting.
Additional Tips or Variations
For a twist, try adding a handful of chopped nuts or a sprinkle of coconut flakes for extra texture and flavor. You can also experiment with different types of candied fruit for a unique take on this classic recipe.
Nutritional Highlights (Per Serving)
Each piece of White Christmas Fudge contains approximately:
Calories: 60
Fat: 3g
Carbohydrates: 8g
Protein: 1g
Frequently Asked Questions (FAQ)
Q: Can I use a microwave instead of a double boiler?
A: Yes, you can melt the chocolate and condensed milk in a microwave-safe bowl by heating in 30-second intervals, stirring in between, until smooth.
Q: How should I store the fudge?
A: Store the fudge in an airtight container in the refrigerator for up to two weeks.
Q: Can I freeze the fudge?
A: Yes, you can freeze the fudge for up to three months. Thaw in the refrigerator before serving.
Conclusion
White Christmas Fudge is a festive and delicious treat that’s perfect for sharing during the holiday season. It’s easy to make and a sure crowd-pleaser. I hope you give this recipe a try and enjoy every sweet bite. Let me know how it turns out and share your holiday baking stories in the comments below. Happy Holidays!
ADVERTISEMENT

