
Pour the milk into a large pot and place it over medium heat.
Stir occasionally to prevent it from sticking to the bottom.
Heat the milk until it just starts to boil, then reduce the heat to low.
Add the Lemon Juice
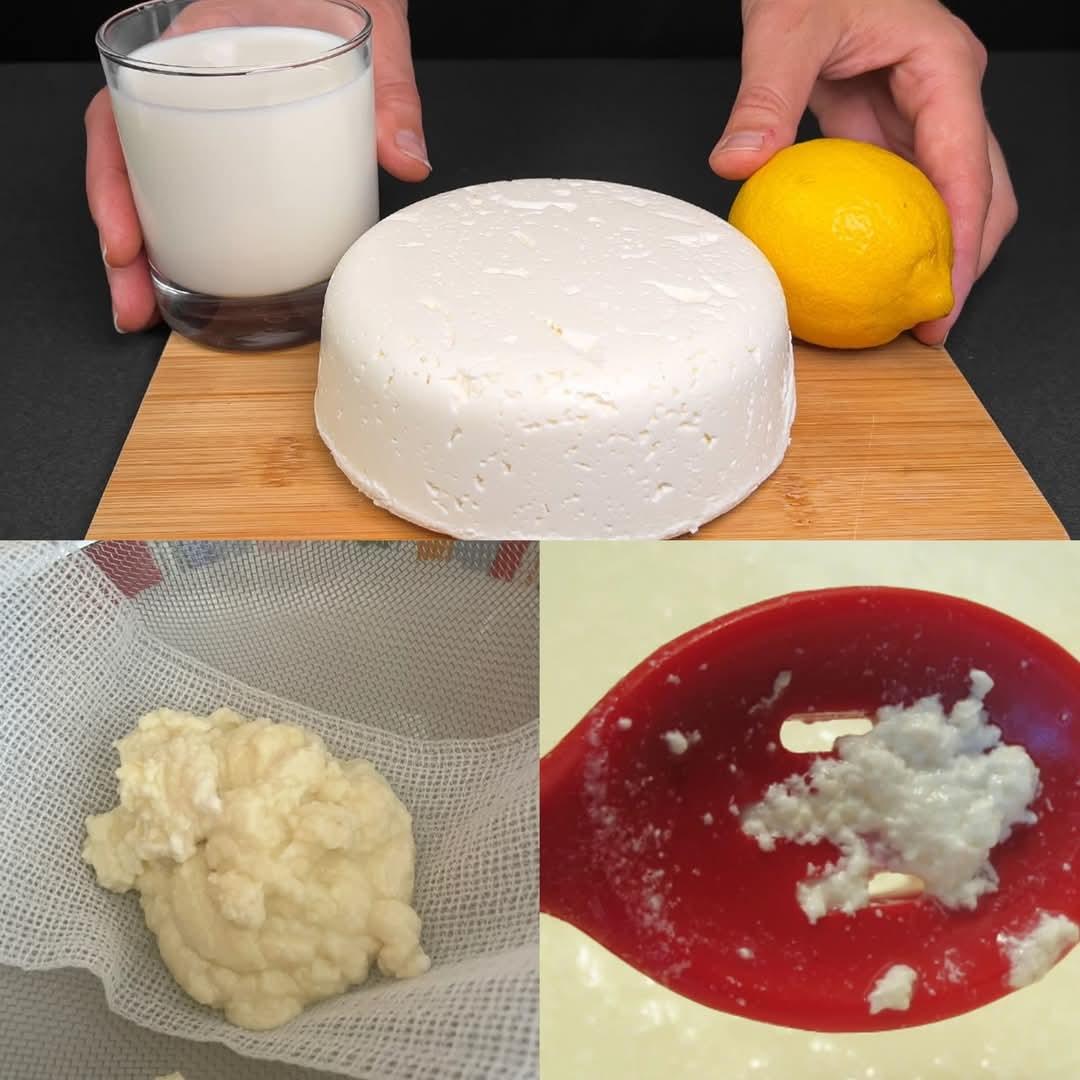
Gradually add the lemon juice, one tablespoon at a time, while stirring gently.
You’ll notice the milk starting to curdle as curds form and separate from the whey.
If the curds don’t form immediately, add a little more lemon juice and continue stirring.
Strain the Curds
Once the milk has fully curdled, turn off the heat.
Place a colander or strainer over a bowl and line it with a clean cheesecloth or fine mesh.
Carefully pour the curdled milk into the strainer to separate the curds from the whey.
Drain and Shape the Cheese
Gather the edges of the cheesecloth and gently press out excess whey.
For firmer cheese, place a weight (like a small plate or bowl) on top and let it rest for 1–2 hours.
If you prefer soft cheese, simply let it drain for 30–40 minutes.
Season (Optional)
Add a pinch of salt to the cheese for extra flavor, or keep it plain for a mild, natural taste.
Why I Don’t Buy Cheese Anymore
This homemade cheese is fresh, preservative-free, and incredibly versatile. It’s perfect for spreading on toast, crumbling over salads, or even using in recipes like lasagna and stuffed vegetables. Plus, it’s more affordable than store-bought options and made with ingredients you trust.
Tips for Success
Use fresh whole milk for the creamiest results. Avoid ultra-pasteurized milk, as it may not curdle well.
Adjust the amount of lemon juice based on your milk—some may require more to curdle properly.
Save the leftover whey! It’s rich in protein and can be used in soups, smoothies, or even baking.
With this simple recipe, you’ll never feel the need to buy cheese again. Try it once, and you’ll fall in love with the fresh taste and ease of making it at home. 🧀✨
ADVERTISEMENT
