
The Best Method to Restore Outdoor Solar Lights
Outdoor solar lights are a convenient and eco-friendly way to illuminate your garden or pathways, but over time, they can lose their effectiveness due to dirt, oxidation, and wear. Restoring them is easy with the right method, saving you money and ensuring your lights shine brightly again.
Step-by-Step Guide to Restore Outdoor Solar Lights
1. Clean the Solar Panels
Why It Matters: Dirt and grime block sunlight from reaching the solar panel, reducing its ability to charge.
How to Clean:
Use a soft, damp cloth to wipe off dust and debris from the panel.
For stubborn dirt, mix mild dish soap with warm water and gently scrub using a sponge or microfiber cloth.
Rinse with clean water and dry with a soft towel.
2. Remove Oxidation from the Solar Panel
Why It Matters: Oxidation creates a cloudy layer on the panel, blocking sunlight.
How to Remove Oxidation:
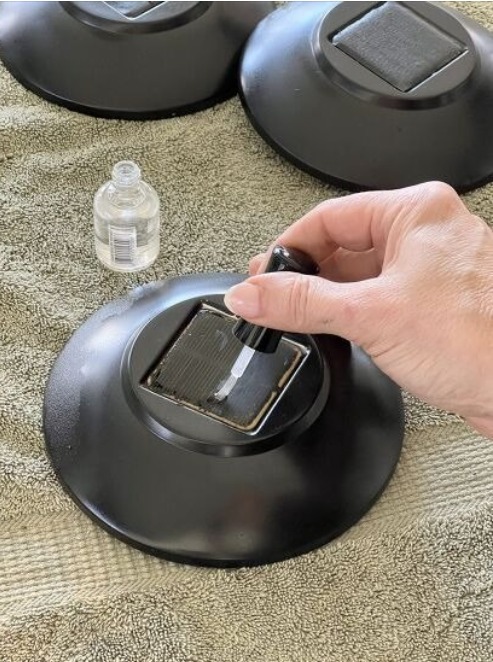
Apply a small amount of toothpaste (non-gel) to the solar panel.
Rub gently with a soft cloth in a circular motion for 1–2 minutes.
Rinse with warm water and dry thoroughly.
Alternative: Use a paste made of baking soda and water for the same effect.
3. Check and Replace Batteries
Why It Matters: Over time, rechargeable batteries lose their capacity, affecting the light’s performance.
How to Check:
Open the battery compartment (usually located at the bottom of the light).
Test the batteries with a multimeter or replace them with new rechargeable NiMH or NiCd batteries.
Ensure the new batteries match the required specifications.
4. Reposition for Optimal Sunlight
Why It Matters: Solar lights need direct sunlight to charge effectively.
How to Optimize:
continued on next page
ADVERTISEMENT
