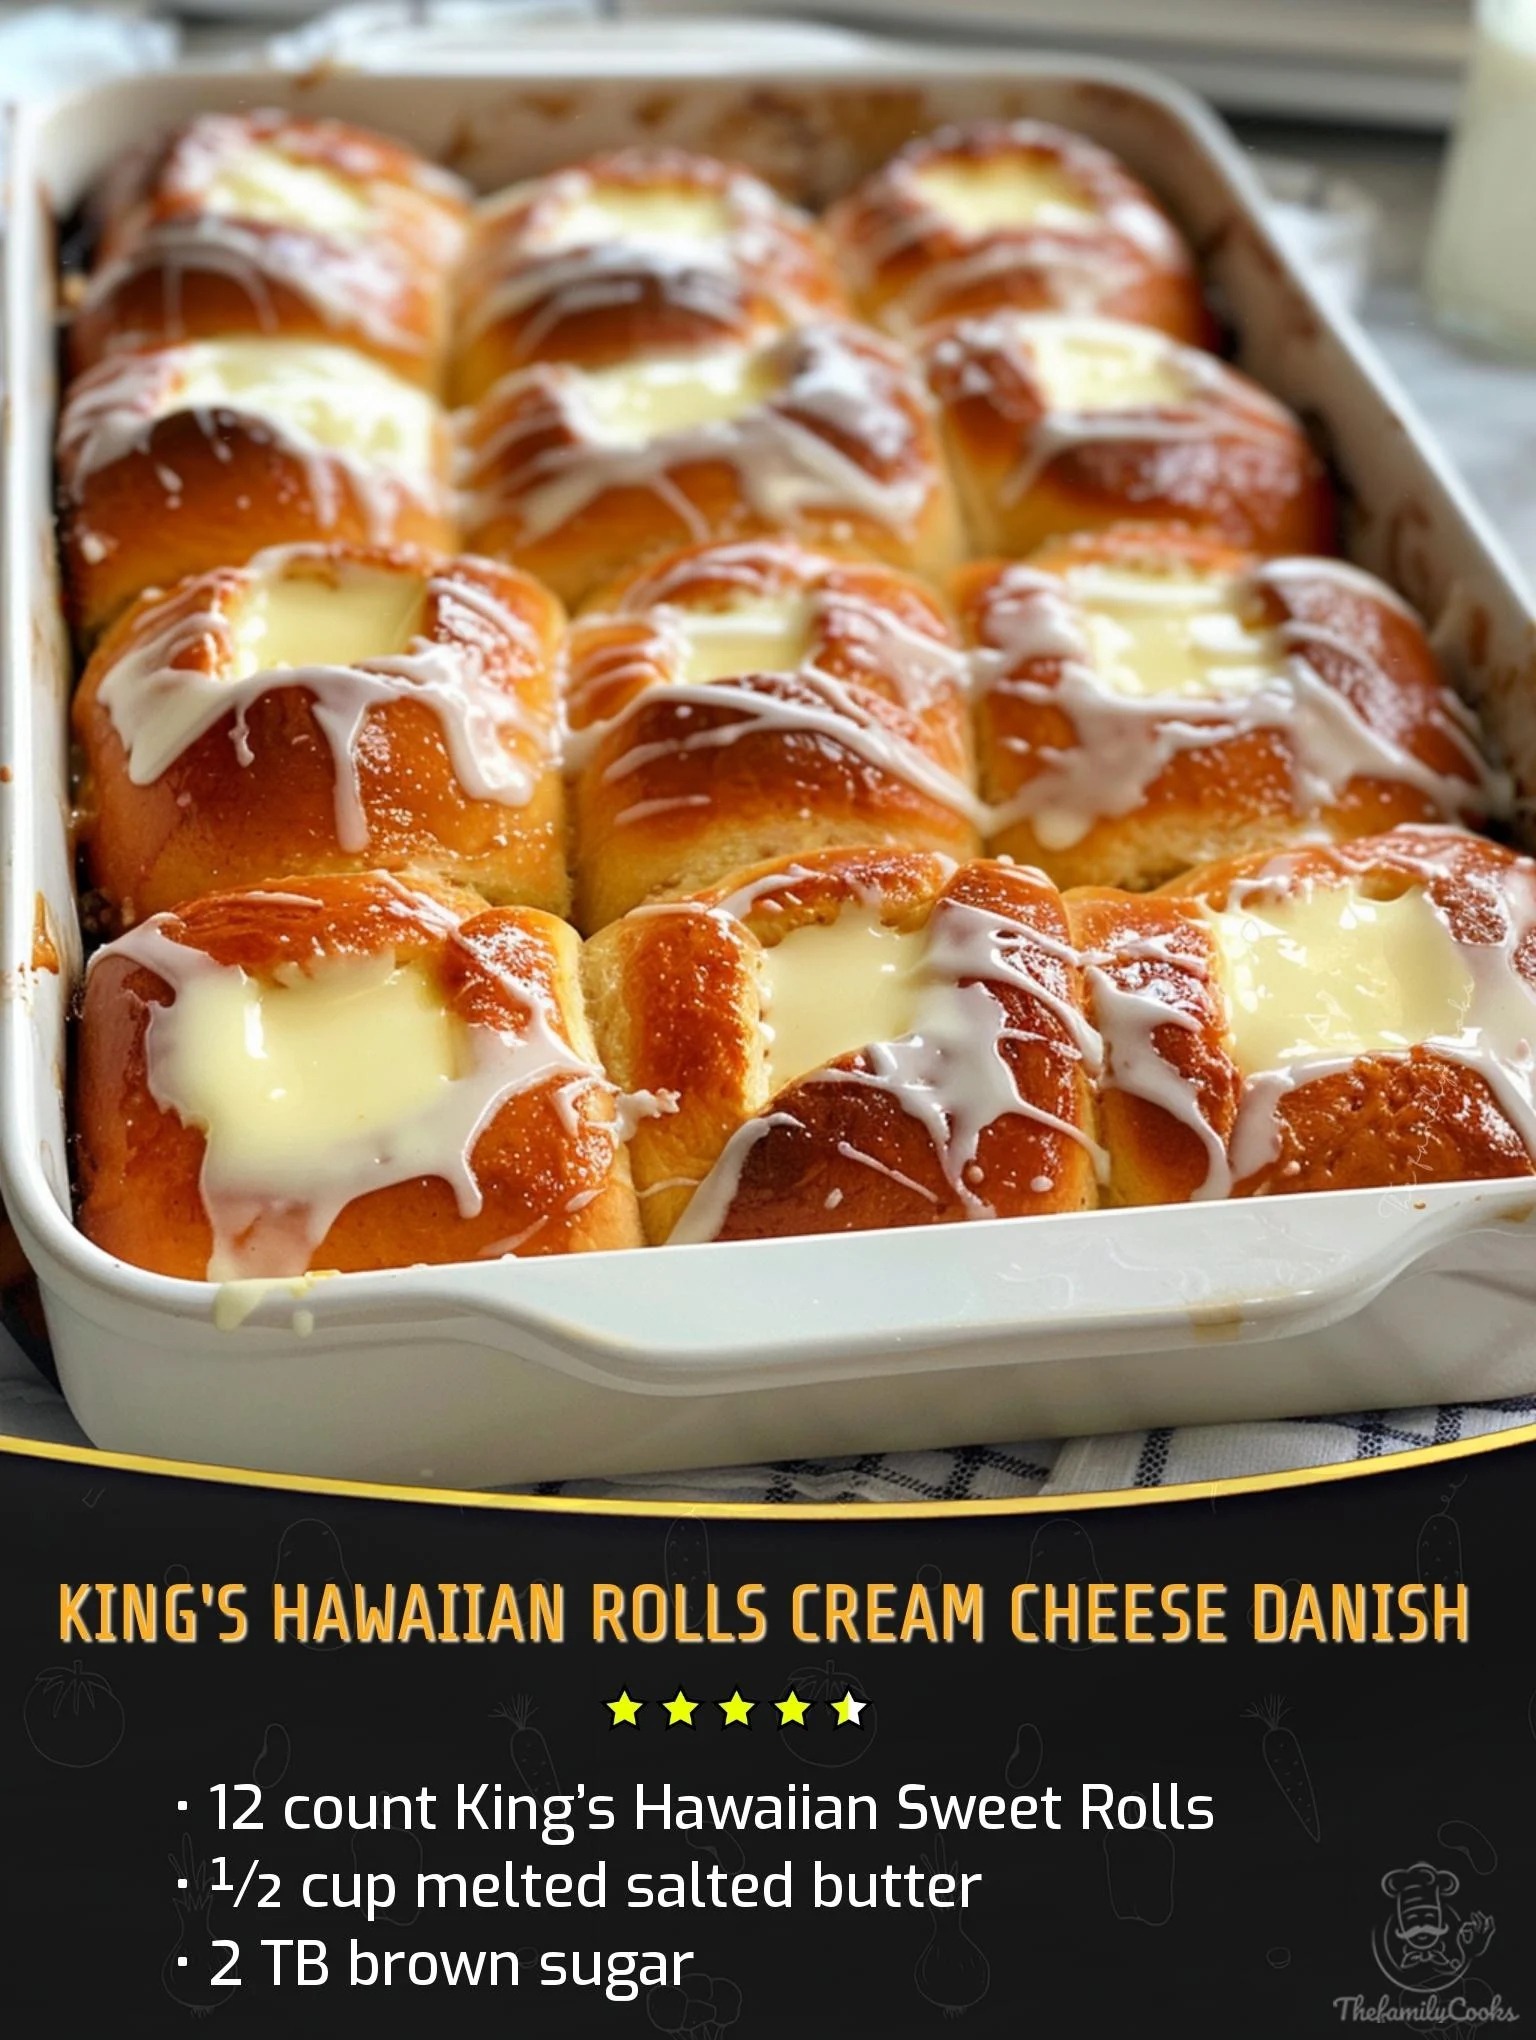
- Step 1:
- Prepare Your Workspace – Begin by preheating your oven to exactly 350°F, ensuring it reaches full temperature before baking. Line a baking sheet with parchment paper, which prevents sticking and makes cleanup effortless. Gather all your ingredients and measuring tools before starting so everything flows smoothly. Set the cream cheese out early, as properly softened cream cheese is crucial for a smooth, lump-free filling that will pipe easily into the rolls.
- Step 2:
- Create Perfect Pockets – Take each Hawaiian sweet roll and carefully slice through the top, creating a deep pocket while ensuring you don’t cut all the way through the bottom. A serrated knife works best for this task. Hold each roll gently but firmly to maintain its shape while cutting. The ideal pocket should be deep enough to hold a generous amount of filling but structured enough that the roll maintains its integrity during baking. Keep the rolls connected in their original formation for easier handling.
- Step 3:
- Craft The Luscious Filling – In a medium mixing bowl, combine the softened cream cheese, granulated sugar, vanilla extract, and egg yolk. Beat with an electric mixer on medium speed for exactly two minutes, periodically scraping down the sides of the bowl to ensure everything incorporates evenly. The mixture should become lighter in both color and texture, resembling a smooth custard. Test the consistency by lifting your beater—the filling should slowly drip off in a continuous ribbon when it’s perfectly whipped.
- Step 4:
- Fill With Precision – Transfer your cream cheese mixture to a piping bag fitted with a medium round tip, or create a makeshift piping bag by snipping the corner off a sturdy zip-top plastic bag. This method offers much more control than spooning. Gently separate each roll slightly to access the pocket more easily. Pipe approximately 1½ tablespoons of filling into each pocket, adjusting the amount based on the size of your pocket. The filling should be generous but not overflowing, as it will expand slightly during baking.
- Step 5:
- Arrange For Even Baking – Place your filled rolls on the prepared baking sheet, arranging them with about an inch of space between each to allow for even heat circulation and slight expansion. If your rolls came connected, you can now fully separate them for baking. For the most attractive presentation, position the filled pocket side facing upward so the cream cheese filling is visible and develops a beautiful golden color during baking.
- Step 6:
- Apply The Aromatic Topping – In a small bowl, combine 1½ tablespoons of sugar with ½ teaspoon of ground cinnamon, mixing thoroughly to distribute the cinnamon evenly throughout the sugar. Using a pastry brush, generously coat the top of each filled roll with melted butter, ensuring the entire surface is covered but not soaked. Immediately sprinkle the cinnamon-sugar mixture over the buttered tops, being careful to cover each roll completely for that classic danish flavor and appealing sparkle.
- Step 7:
- Bake To Golden Perfection – Place the baking sheet on the middle rack of your preheated oven and bake for 15-20 minutes. Begin checking at the 15-minute mark for signs of doneness: the rolls should be golden brown around the edges and the filling should be set but still slightly soft in the center. The aroma of cinnamon and vanilla will fill your kitchen, signaling they’re nearly ready. If needed, rotate the pan halfway through baking to ensure even browning.
- Step 8:
- Finish With Elegance – Remove the danishes from the oven and allow them to cool on the baking sheet for precisely 5 minutes. This short resting period allows the filling to set further while ensuring the danishes remain warm for serving. Just before presenting, dust generously with powdered sugar using a fine mesh sieve held several inches above the danishes for the most even, professional-looking finish. The warmth of the rolls will slightly melt the first layer of sugar, creating an almost glaze-like effect.
ADVERTISEMENT

