
Second Step: Sugar and Water Mix the sugar with water until it dissolves. Then, pour this mixture over the apples in the jar until they are covered completely. This sweet water will help change the sugars in the apples into alcohol, an important part of making vinegar.
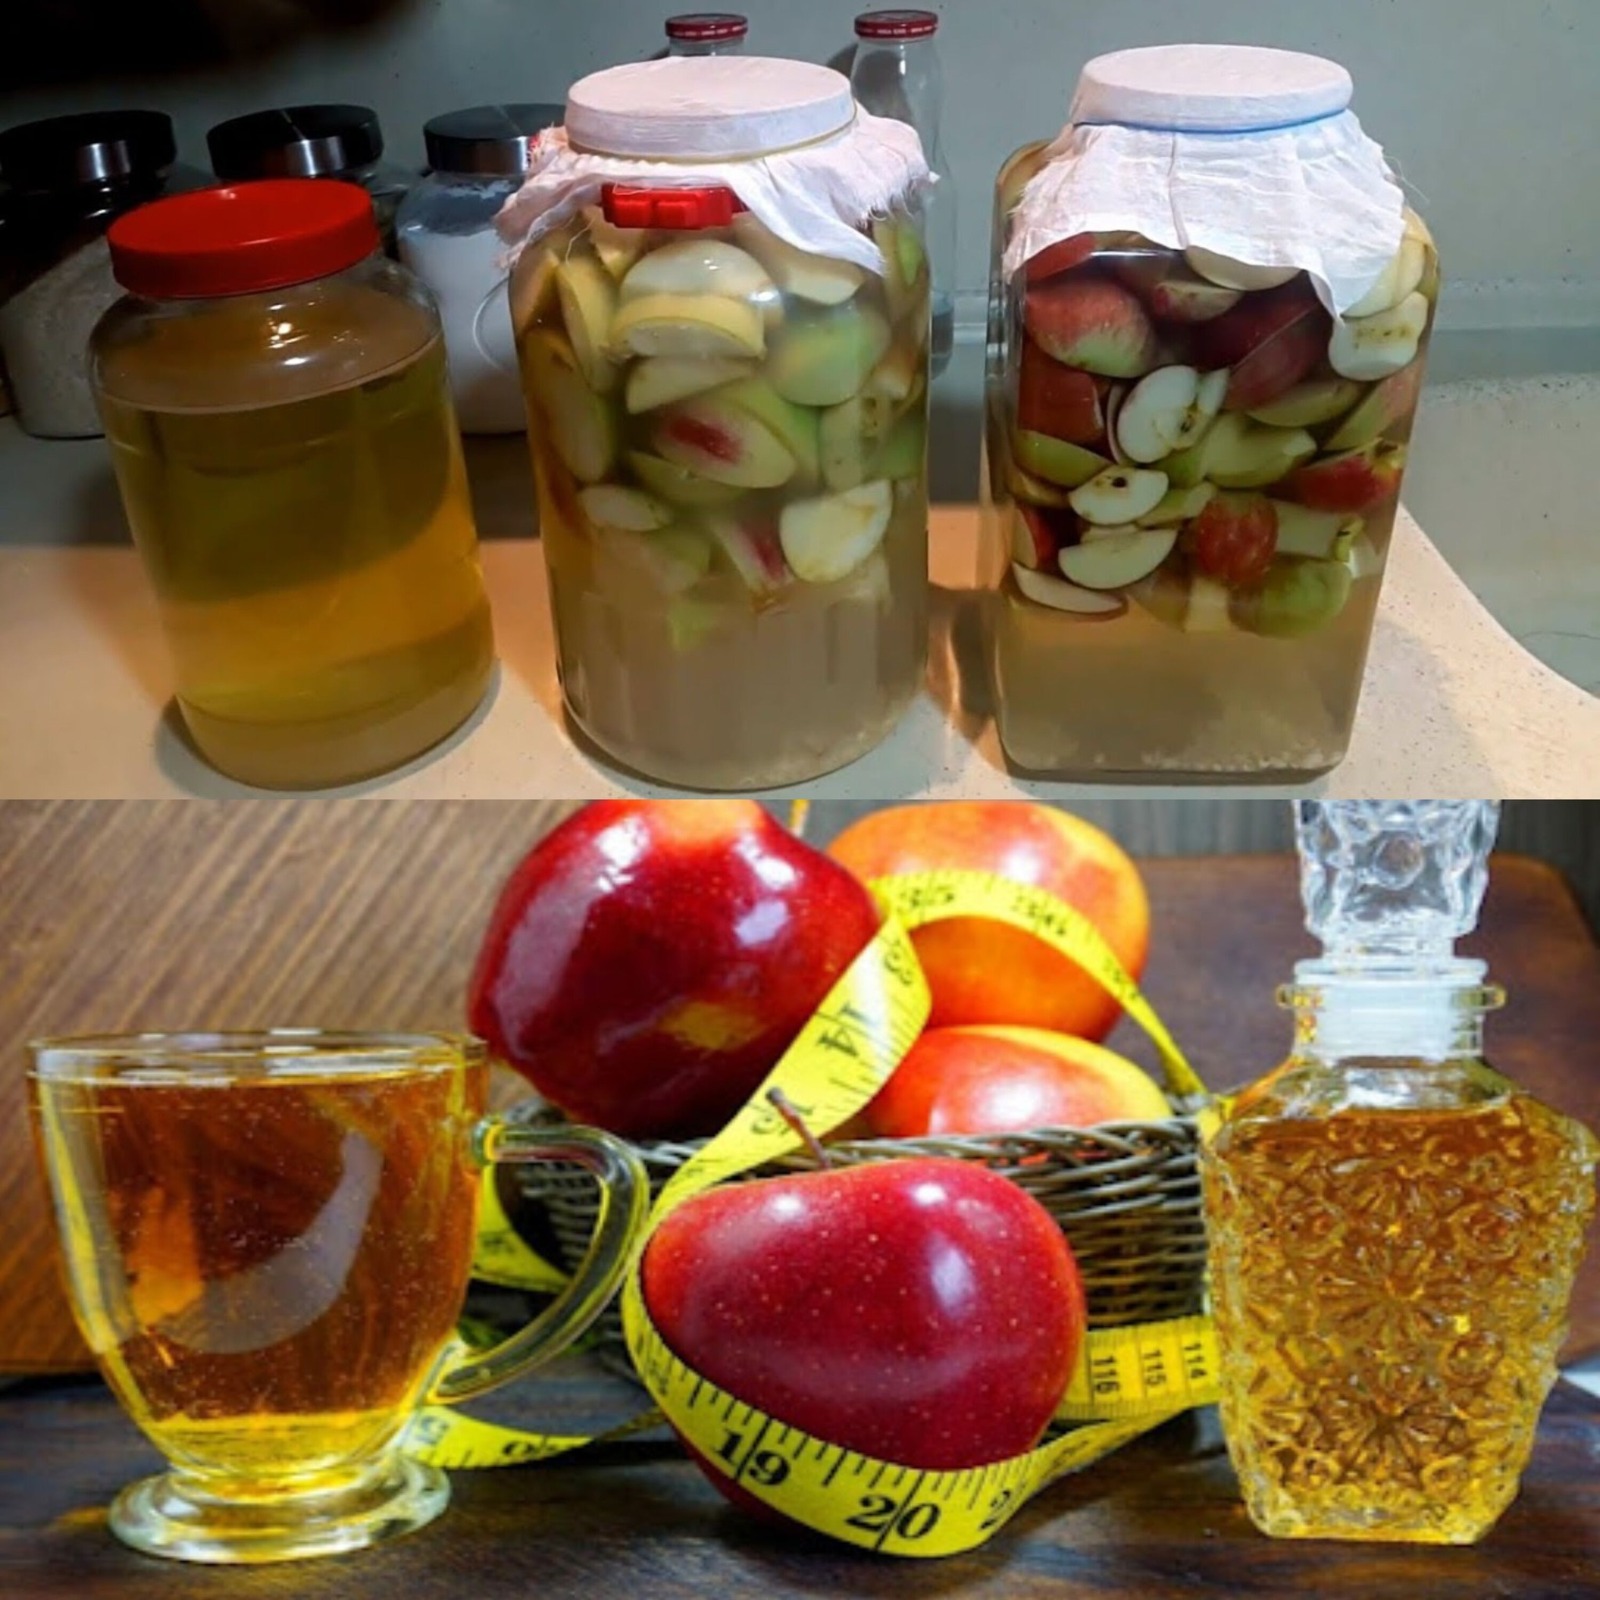
Step 3: Put a cover on it and wait. Put the thin cloth or paper filter on top of the jar and fasten it with a rubber band or string. This lets the mix get air and allows the natural yeasts in the air to do their job, while also keeping bugs and dirt out.
Step 4: Making the product ferment. Keep the jar in a dark and warm spot for approximately 3 to 4 weeks. You can mix the ingredients every few days to help the apples break down correctly and let out their flavors.
Step 5: Filtering After the first fermentation, you will see that the liquid has become cloudy and the apples have sunk to the bottom. Remove the solid parts and put the liquid back in the jar to continue fermenting.
Step 6: The Second Fermentation Cover it again with the cloth and leave it for another 4 to 6 weeks, stirring from time to time. In this stage, the alcohol changes into acetic acid, which is what gives vinegar its sour taste.
Step 7: Try the food and keep it stored. Try your vinegar from time to time. When it tastes just right for you, put it in a bottle and close it tightly. You can keep your homemade apple vinegar at room temperature and use it for up to a year.
Final thoughts
Creating your own apple vinegar is a satisfying experience that leads to a product much better than many types found in stores. Use the vinegar you make at home in salad dressings, marinades, or as a natural remedy to experience its numerous advantages. Enjoy the fermentation process!
ADVERTISEMENT
