Let It Sit: Allow the curdled milk to sit undisturbed for about 5-10 minutes. This will help the curds (solids) separate more fully from the whey (liquid).
Drain the Curds: Line your colander with cheesecloth or a dish towel, placing it over a bowl to catch the whey. Pour the curdled mixture into the colander to strain out the liquid.
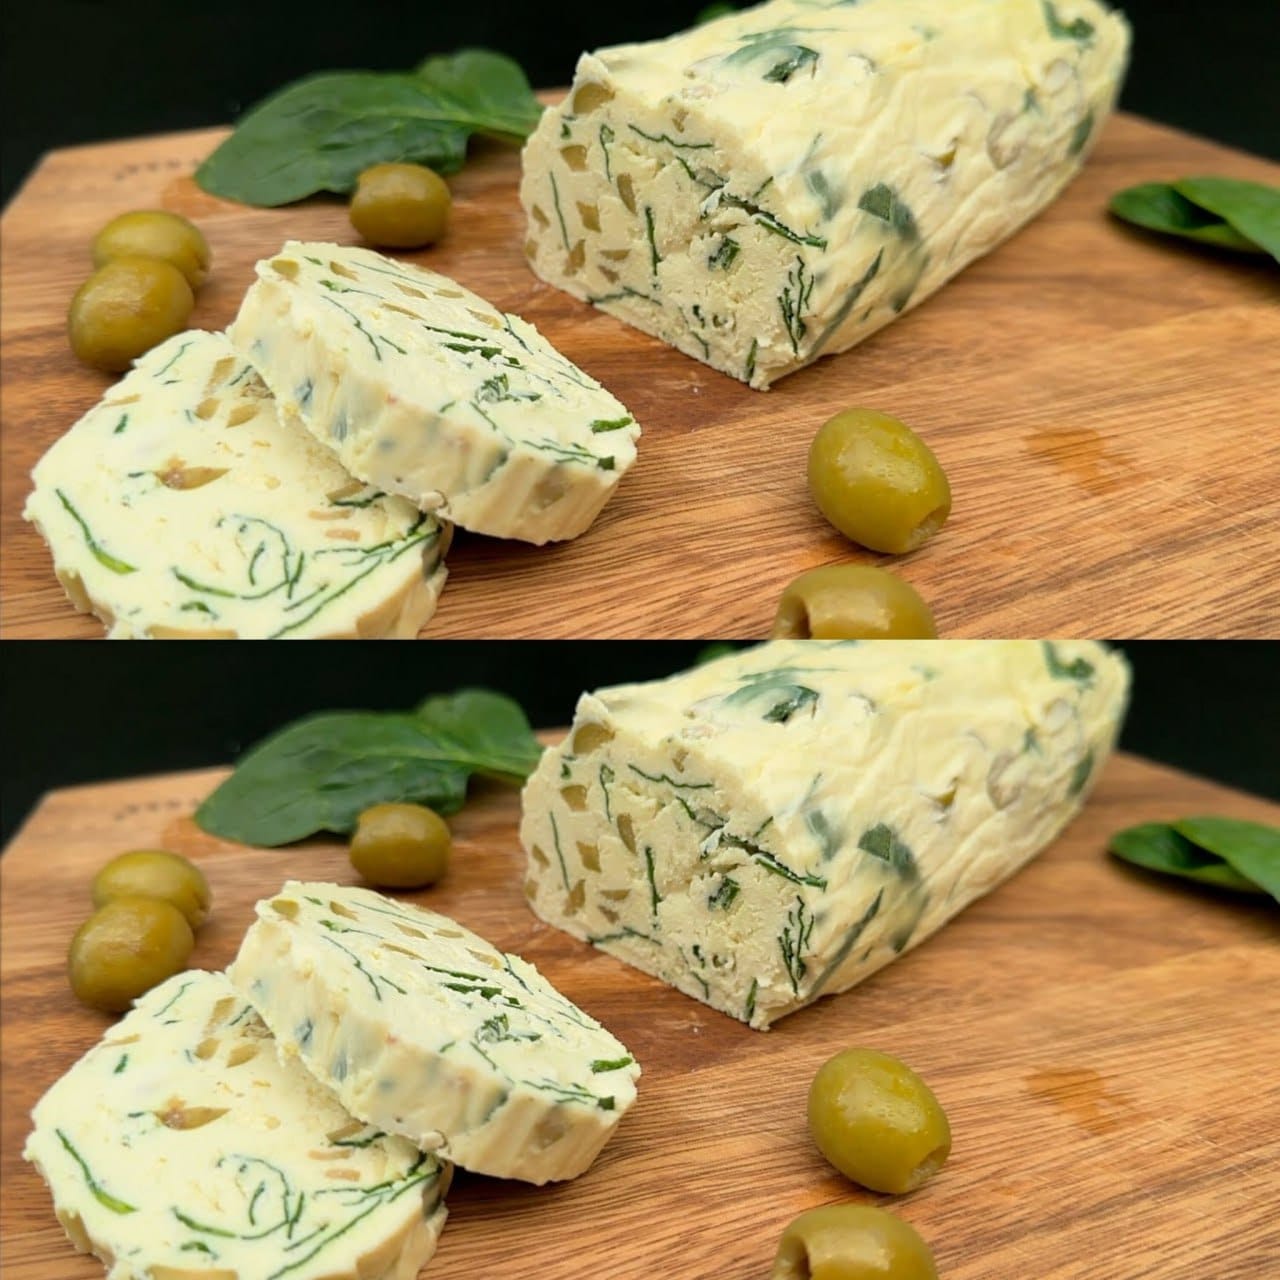
Add Olives and Seasonings: Once the curds have drained, mix in the chopped olives and any additional herbs or salt you desire. This is your chance to customize the flavor to your liking.
Press the Cheese: To achieve a firmer texture, wrap the curds in the cheesecloth, place them back in the colander, and put a weight on top to press out any remaining liquid. Allow it to press for about 5-10 minutes.
Ready to Enjoy: Unwrap your homemade olive-infused cheese. It’s ready to be enjoyed immediately or stored in the refrigerator for later use.
Tips for Perfect Homemade Cheese
Quality of Milk: Use the freshest whole milk you can find, as it will give the best flavor and texture to your cheese.
Type of Olives: Experiment with different types of olives, such as Kalamata, green, or black olives, to find the flavor profile you prefer.
Serving Suggestions: Spread your homemade cheese on toasted bread, add it to salads, or use it as a filling for pastries. It’s incredibly versatile!
Why You’ll Love This Cheese
This homemade cheese with olives is not only delicious but also offers a satisfying texture and richness that store-bought cheeses often lack. It’s a fantastic way to impress guests or treat yourself to something special. Once you try it, you’ll see just how easy and rewarding cheese-making can be—prepare to get hooked on crafting this delightful cheese daily!
ADVERTISEMENT

