Large bowl
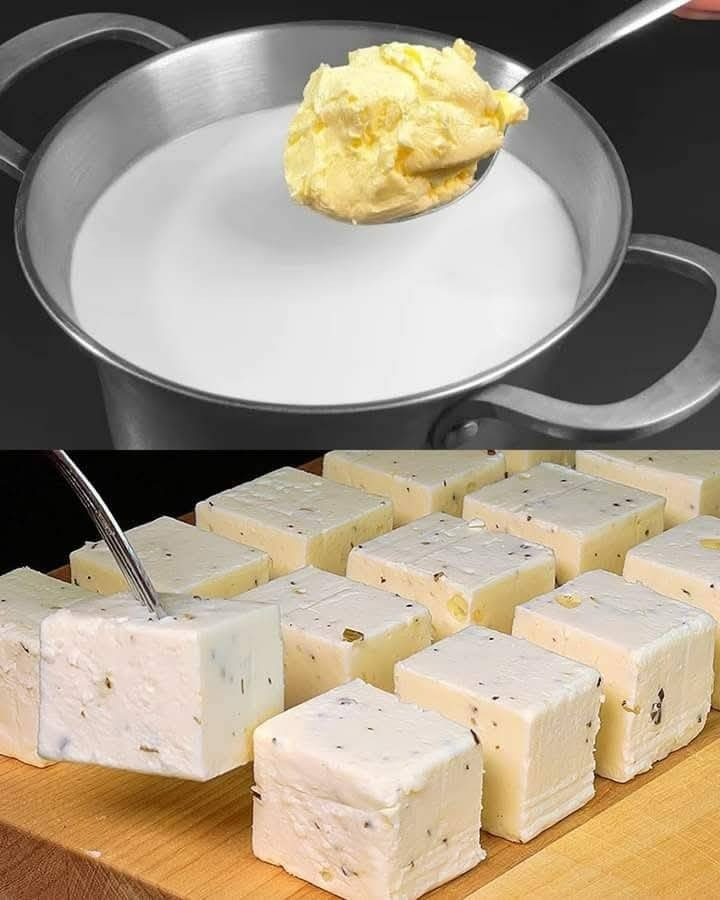
How to Make Homemade Cheese
Step 1: Heat the Milk
Pour the milk into a large pot and heat it over medium heat.
Stir occasionally to prevent scorching. Use a thermometer to heat the milk to 190°F (88°C), or until it begins to steam and small bubbles form around the edges (do not boil).
Step 2: Add the Acid
Once the milk is hot, remove it from the heat.
Slowly stir in the vinegar or lemon juice, 1 tablespoon at a time, until the milk curdles and separates into curds (solid) and whey (liquid).
Tip: If the milk doesn’t curdle after a few minutes, add a bit more acid.
Step 3: Strain the Curds
Place a colander over a large bowl and line it with cheesecloth.
Pour the curdled milk into the colander, letting the whey drain into the bowl beneath.
Gather the edges of the cheesecloth and gently squeeze out excess liquid, leaving soft curds behind.
Step 4: Season and Shape
Transfer the curds to a clean bowl and mix in the salt. Add herbs, garlic, or spices if desired.
For a firmer cheese, press the curds into a mold or small bowl lined with cheesecloth and refrigerate for 1–2 hours.
Step 5: Serve and Enjoy
Once set, your homemade cheese is ready to eat! Serve as a spread, crumble over salads, or enjoy on crackers.
Why You’ll Love This Recipe
Customizable: Adjust the flavor with different herbs and spices.
Fresh and Natural: No additives or preservatives.
Simple Ingredients: Made with just milk, acid, and salt.
Pro Tips for Success
Choose the Right Milk: Avoid ultra-pasteurized milk, as it won’t curdle well.
Save the Whey: Use the leftover whey in smoothies, soups, or baking—it’s packed with protein and nutrients.
Experiment: Try using buttermilk or yogurt as the acid for different flavors and textures.
With this Homemade Cheese Recipe, you can enjoy fresh, creamy cheese anytime. It’s perfect for beginners and makes a fun and rewarding kitchen project. 🧀✨ Enjoy your delicious, homemade creation!
ADVERTISEMENT

