Instructions
Step 1: Whip the Cream
Pour the heavy cream into the bowl of your stand mixer or into a food processor. If you’re using a hand mixer, ensure the bowl is large enough to handle the cream as it expands during whipping.
Start on a medium-high speed and whip the cream. At first, it will turn into whipped cream, then continue whipping as the cream thickens and starts to separate. This process usually takes about 8-10 minutes.
Step 2: Separate Butter and Buttermilk
As the cream continues to whip, you’ll notice that it begins to curdle and split. The fat will form into clumps (this is the butter), while a liquid will separate out (this is buttermilk). Once this happens, your butter is ready.
Stop the mixer, and pour the buttermilk into a separate bowl through a fine mesh strainer or cheesecloth. You can save the buttermilk for baking or cooking—it’s perfect for pancakes or biscuits!
Step 3: Rinse the Butter
The next step is to rinse the butter to remove any remaining buttermilk, which can cause it to spoil more quickly.
With the butter still in the bowl, add ice water and gently knead the butter with a spatula or your hands. Drain the cloudy water, and repeat this process 2-3 times, until the water runs clear. This ensures that the butter stays fresh longer.
Step 4: Add Salt (Optional)
If you prefer salted butter, add about 1/4 teaspoon of salt to the butter and knead it in until it’s well incorporated. Adjust the salt to your taste.
You can also mix in herbs, honey, or garlic at this stage for flavored butter.
Step 5: Shape and Store
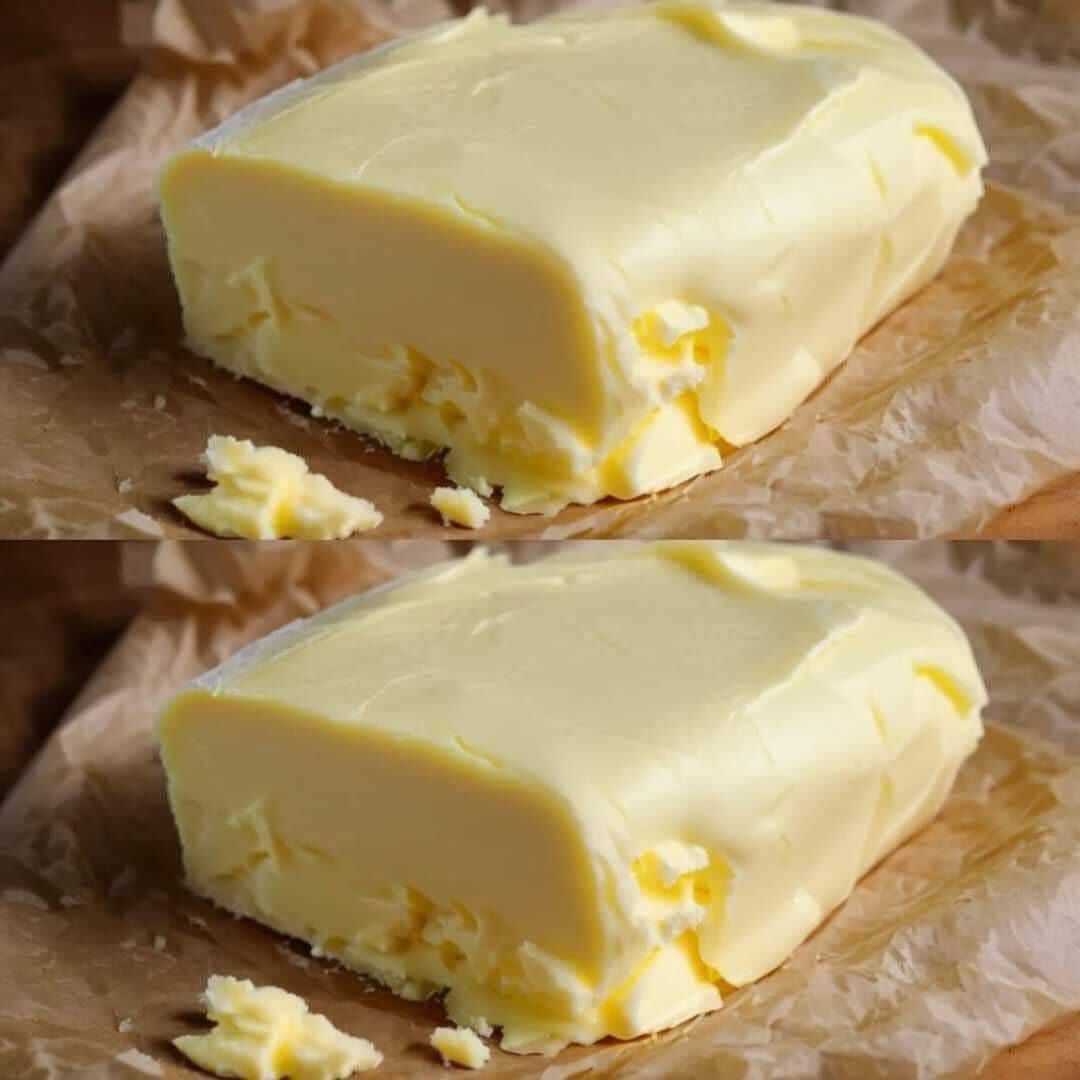
Once the butter is rinsed and seasoned, you can shape it into a log or press it into a butter dish. Cover it with plastic wrap or parchment paper.
Store the butter in the refrigerator, where it will last for up to two weeks. For longer storage, you can freeze the butter in an airtight container for up to six months.
Variations on Homemade Butter
Once you’ve mastered basic homemade butter, why not try some variations? Here are a few ideas to take your butter to the next level:
Herb Butter: Add finely chopped fresh herbs like rosemary, thyme, or parsley for a savory twist. This is great for spreading on bread or melting over steak.
Honey Butter: Mix in a tablespoon or two of honey for a sweet and creamy spread, perfect for biscuits or pancakes.
Garlic Butter: Add minced garlic and a sprinkle of parsley for a flavorful spread that’s perfect for garlic bread or grilled vegetables.
Tips for Success
Use Cold Water for Rinsing: Cold water is key to helping solidify the butter and removing excess buttermilk.
Don’t Overwhip: Be careful not to over-process the butter once it has separated from the buttermilk, as this can cause the butter to lose its smooth texture.
Store Properly: Keep your butter in an airtight container or wrap it tightly in plastic wrap to prevent it from absorbing other flavors in the fridge.
Why Homemade Butter is Worth It
Making butter at home may sound old-fashioned, but it’s a rewarding and simple process. The flavor is unmatched, and you’ll love the rich, creamy texture. Plus, there’s something so satisfying about making butter from scratch—it connects you to traditional cooking methods and gives you complete control over what goes into your food. Whether you’re spreading it on toast, using it in baking, or melting it over fresh vegetables, homemade butter adds a level of freshness and quality that you’ll immediately notice.
Conclusion
If you’ve never made homemade butter before, give it a try! With just heavy cream and a bit of time, you’ll have fresh, flavorful butter that’s perfect for any meal. Whether you keep it simple or experiment with fun flavor additions, this butter will become a staple in your kitchen. Serve it with warm bread, pancakes, or your favorite baked goods, and enjoy the rich taste that only homemade butter can offer.
ADVERTISEMENT

