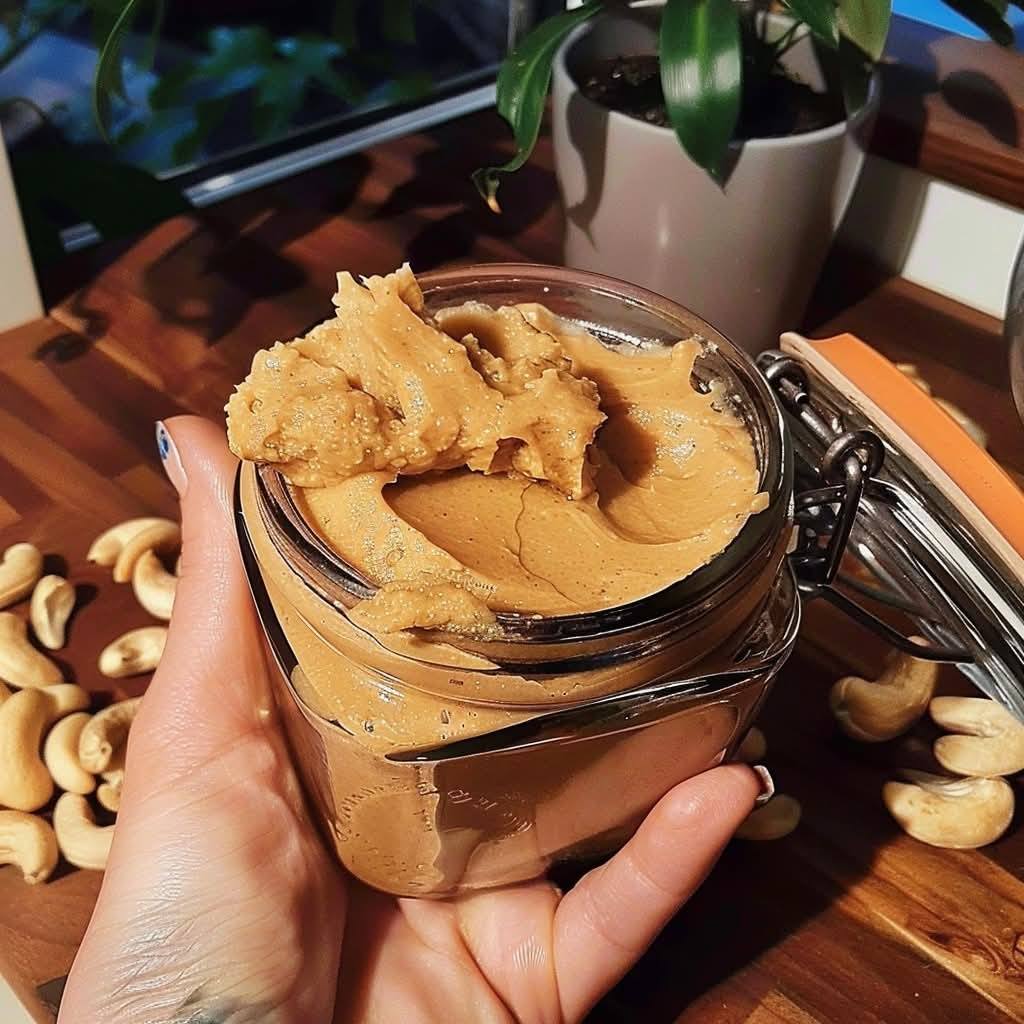
Step 2: Drain and Rinse
After 24 hours, drain the soaked cashews and rinse them thoroughly under running water. This removes any residual phytic acid, which can interfere with digestion.
Step 3: Prepare the Blender
Transfer the drained cashews to a high-speed blender. Add 2 tablespoons of nutritional yeast, 1 teaspoon of turmeric powder, a pinch of paprika, 2 peeled garlic cloves, and the juice of half a lemon.
Step 4: Add Water and Seasonings
Add approximately 1/2 cup of water to the blender. The amount of water needed may vary; start with a small amount and add more as needed to achieve a smooth blending consistency. Season with salt and pepper to taste.
Step 5: Blend Until Smooth
Blend the mixture on high speed until it becomes very smooth and creamy. This may take a few minutes, depending on the power of your blender. If the mixture is too thick, add a small amount of water to facilitate blending.
Step 6: Adjust Consistency (Optional)
For a firmer cheese, add 2 tablespoons of melted coconut oil to the blender and blend until well combined. The coconut oil will help the cheese set harder, making it easier to slice or mold.
Step 7: Taste and Adjust Seasonings
Taste the cashew cheese and adjust the seasonings as needed. You can add more nutritional yeast for a cheesier flavor, more lemon juice for acidity, or additional spices to suit your taste.
Step 8: Store and Use
Transfer the blended cashew cheese to an airtight container and refrigerate. The cheese will firm up as it chills. It can be stored in the refrigerator for up to one week.
Step 9: Serve and Enjoy
Enjoy your homemade cashew cheese on crackers, in sandwiches, as a pasta sauce, or in any dish that calls for a creamy, cheesy addition. Its versatility and delicious flavor will make it a favorite in your kitchen.
Tips for the Perfect Cashew Cheese
Tip 1: Soaking Time
Ensure you soak the cashews for the full 24 hours. This not only softens them for blending but also enhances their nutritional profile by reducing phytic acid content.
Tip 2: High-Speed Blender
Using a high-speed blender ensures a smoother and creamier cheese. If you don’t have one, a food processor can work, but the texture may be slightly grainier.
Tip 3: Flavor Adjustments
Feel free to experiment with additional flavors. Adding herbs like rosemary, thyme, or basil can create unique variations of the cheese.
Tip 4: Consistency
If you prefer a runnier cheese sauce for pasta, simply add more water until you reach the desired consistency. For a thicker cheese spread, reduce the water.
Tip 5: Serving Suggestions
This cashew cheese pairs wonderfully with fresh vegetables, as a dip, or spread on a toasted baguette. It also makes an excellent topping for baked potatoes or a creamy base for vegan mac and cheese.
Nutritional Information (Per Serving, based on 8 servings)
Calories: Approximately 120 kcal
Protein: 4 grams
Fat: 9 grams
Carbohydrates: 8 grams
Fiber: 1 gram
Sugar: 1 gram
Sodium: 150 mg
Conclusion
Homemade cashew cheese is a simple and rewarding culinary project. It’s not only healthier than many store-bought vegan cheeses but also customizable to your taste. With its creamy texture and rich flavor, this cashew cheese will quickly become a staple in your vegan cooking. Enjoy the process and the delicious results, knowing that you are creating a wholesome, plant-based alternative to traditional cheese.
ADVERTISEMENT

