Table of Contents
Bread Substitute with 3 Ingredients Prepared in Seconds
Ingredients
Step-by-Step Instructions
1. Preparing the Dough
2. Kneading and Resting the Dough
3. Shaping and Resting the Dough Balls
4. Rolling Out the Dough
5. Cooking the Bread Substitute
Bread Substitute with 3 Ingredients Prepared in Seconds
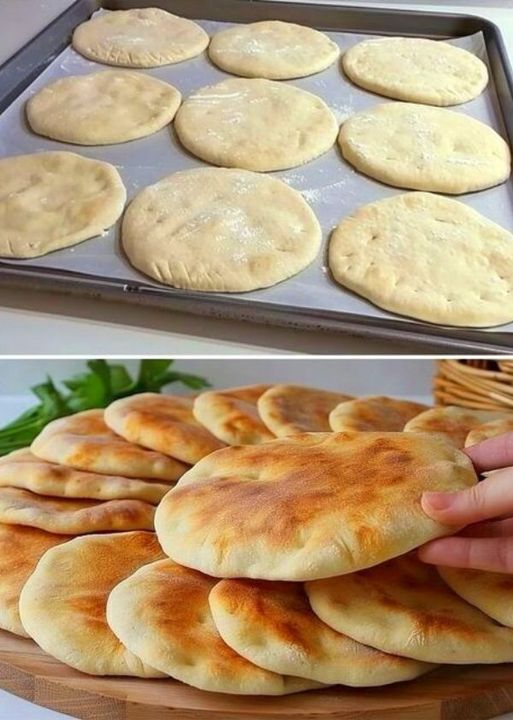
In the realm of culinary delights, few things can rival the simple pleasure of fresh, homemade bread. However, for those seeking a quicker, easier alternative that doesn’t compromise on taste or texture, we present a bread substitute that’s better than traditional bread. With just three basic ingredients and a few minutes of your time, you can create a versatile, delicious bread substitute that will become a staple in your kitchen. This recipe is perfect for busy days, impromptu gatherings, or whenever you crave that fresh-baked bread taste without the fuss.
Ingredients
450 grams of flour (16 oz)
2 tablespoons of vegetable oil (30 ml)
240 ml of hot water (1 cup)
Salt (to taste)
Step-by-Step Instructions
1. Preparing the Dough
Sift the Flour: Begin by sifting 450 grams of flour into a large mixing bowl. This step ensures that your flour is light and free of lumps, which is crucial for achieving a smooth, pliable dough.
Add Oil, Salt, and Water: Next, add 2 tablespoons of vegetable oil and a pinch of salt to the flour. Gradually pour in 240 ml of hot water while stirring the mixture with a wooden spoon or your hands. The hot water helps to bind the ingredients and creates a dough that’s easy to work with.
2. Kneading and Resting the Dough
Knead the Dough: Once the ingredients are combined, transfer the dough onto a lightly floured surface. Knead it for about 5-7 minutes until it becomes smooth and elastic. The kneading process is essential for developing the gluten, which gives the bread its structure and chewiness.
Form a Ball: Shape the kneaded dough into a ball and place it in a breakfast bag or wrap it in plastic wrap. Let it rest for 20 minutes. Resting the dough allows the gluten to relax, making it easier to roll out later.
3. Shaping and Resting the Dough Balls
Divide the Dough: After the initial rest period, divide the dough into eight equal parts. Shape each part into a small ball.
Rest Again: Cover the dough balls with a breakfast bag or a damp cloth and let them rest for another 10 minutes. This second rest period ensures that the dough is easy to roll out without springing back.
Continued on the next page
ADVERTISEMENT

