
ADVERTISEMENT
ADVERTISEMENT
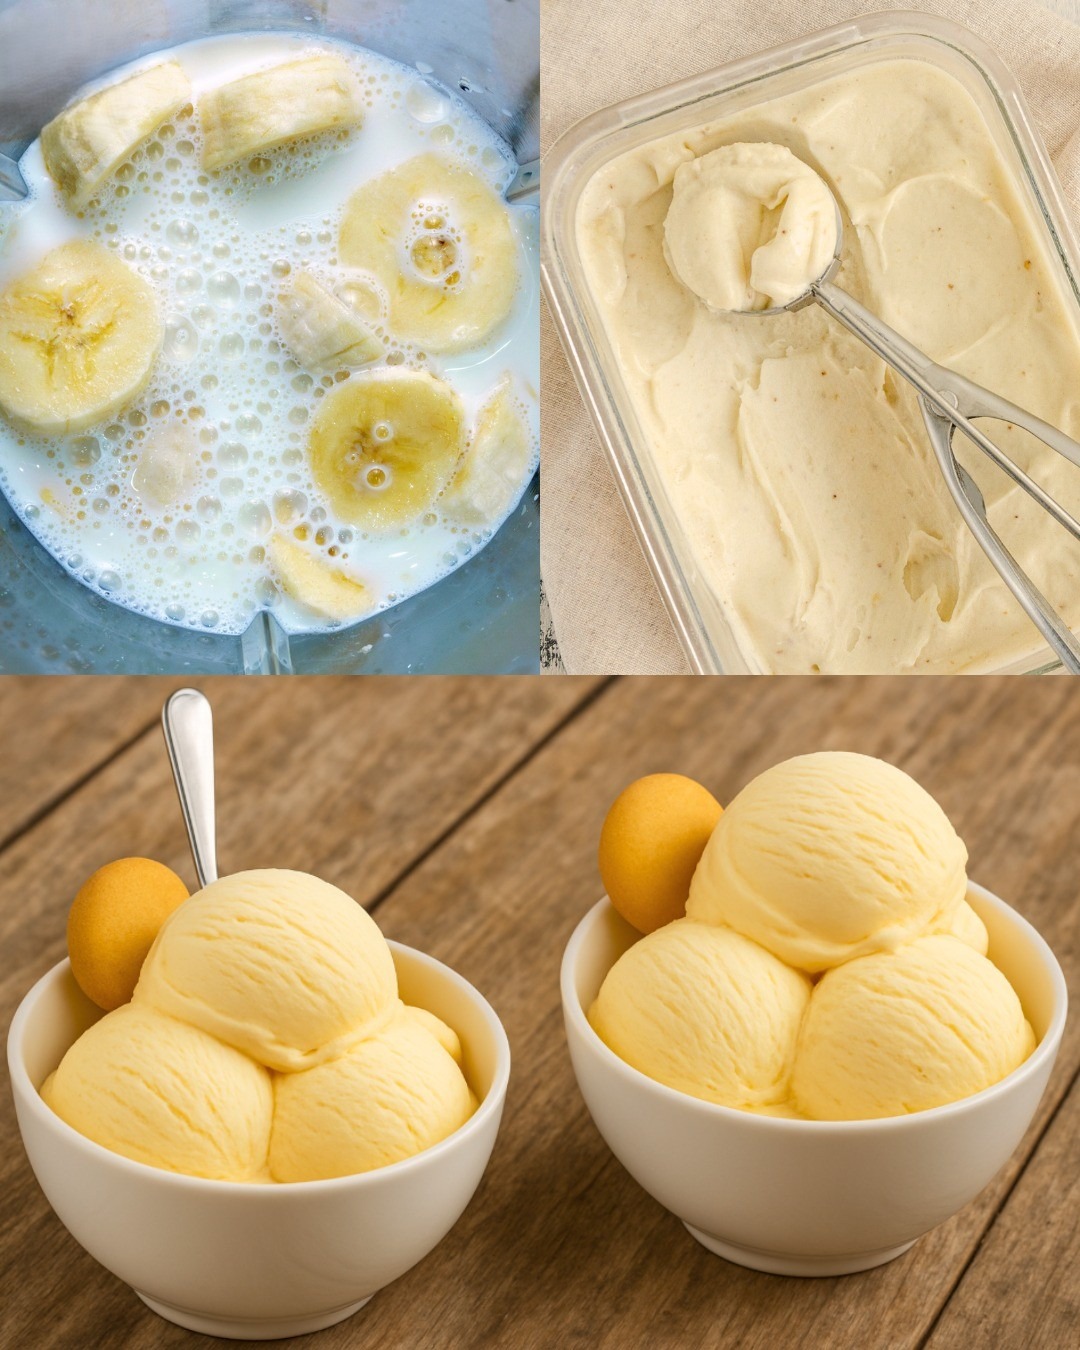
3-Ingredient Banana Ice Cream (No Ice Cream Maker Needed)
Ingredients
BANANAS
5
HEAVY CREAM
200ml
ICING SUGAR
2 tsp
How to Make No-Churn Banana Ice Cream
Step 1
Start by peeling your bananas—ripe ones work best, especially those with speckled skins. They’re sweeter and will give your ice cream that naturally creamy texture. Slice them into small rounds, about half an inch thick, and spread them out on a tray or plate lined with parchment paper. This step is important: freezing the slices individually helps prevent them from clumping together later. Once they’re arranged in a single layer, pop them into the freezer for at least four hours, or better yet, overnight. When the bananas are frozen solid, it’s time to blend.
Step 2
Transfer the slices into a powerful blender or food processor. Add the icing sugar—this just helps balance the flavor, especially if your bananas aren’t super ripe. Then pour in the heavy cream, which adds richness and gives the final ice cream a more indulgent, silky texture.
Now, blend everything together. At first, the mixture might look a bit crumbly or chunky, but be patient. Use a spatula to scrape down the sides and keep pulsing. Eventually, the bananas will break down and turn into a smooth, luscious cream. You’ll know it’s ready when it resembles soft-serve ice cream.
Step 3
If you like your ice cream on the softer side, you can serve it right away—just scoop it into cones or bowls and enjoy! But if you prefer a firmer texture, transfer the mixture into a freezer-safe container. Smooth out the top, cover it, and freeze it for another 2 to 3 hours until it sets.
And that’s it! A rich, creamy banana ice cream made with only three ingredients—no ice cream maker required.
ADVERTISEMENT
ADVERTISEMENT
